
Photo tips for a Tromsø snowshoe hike
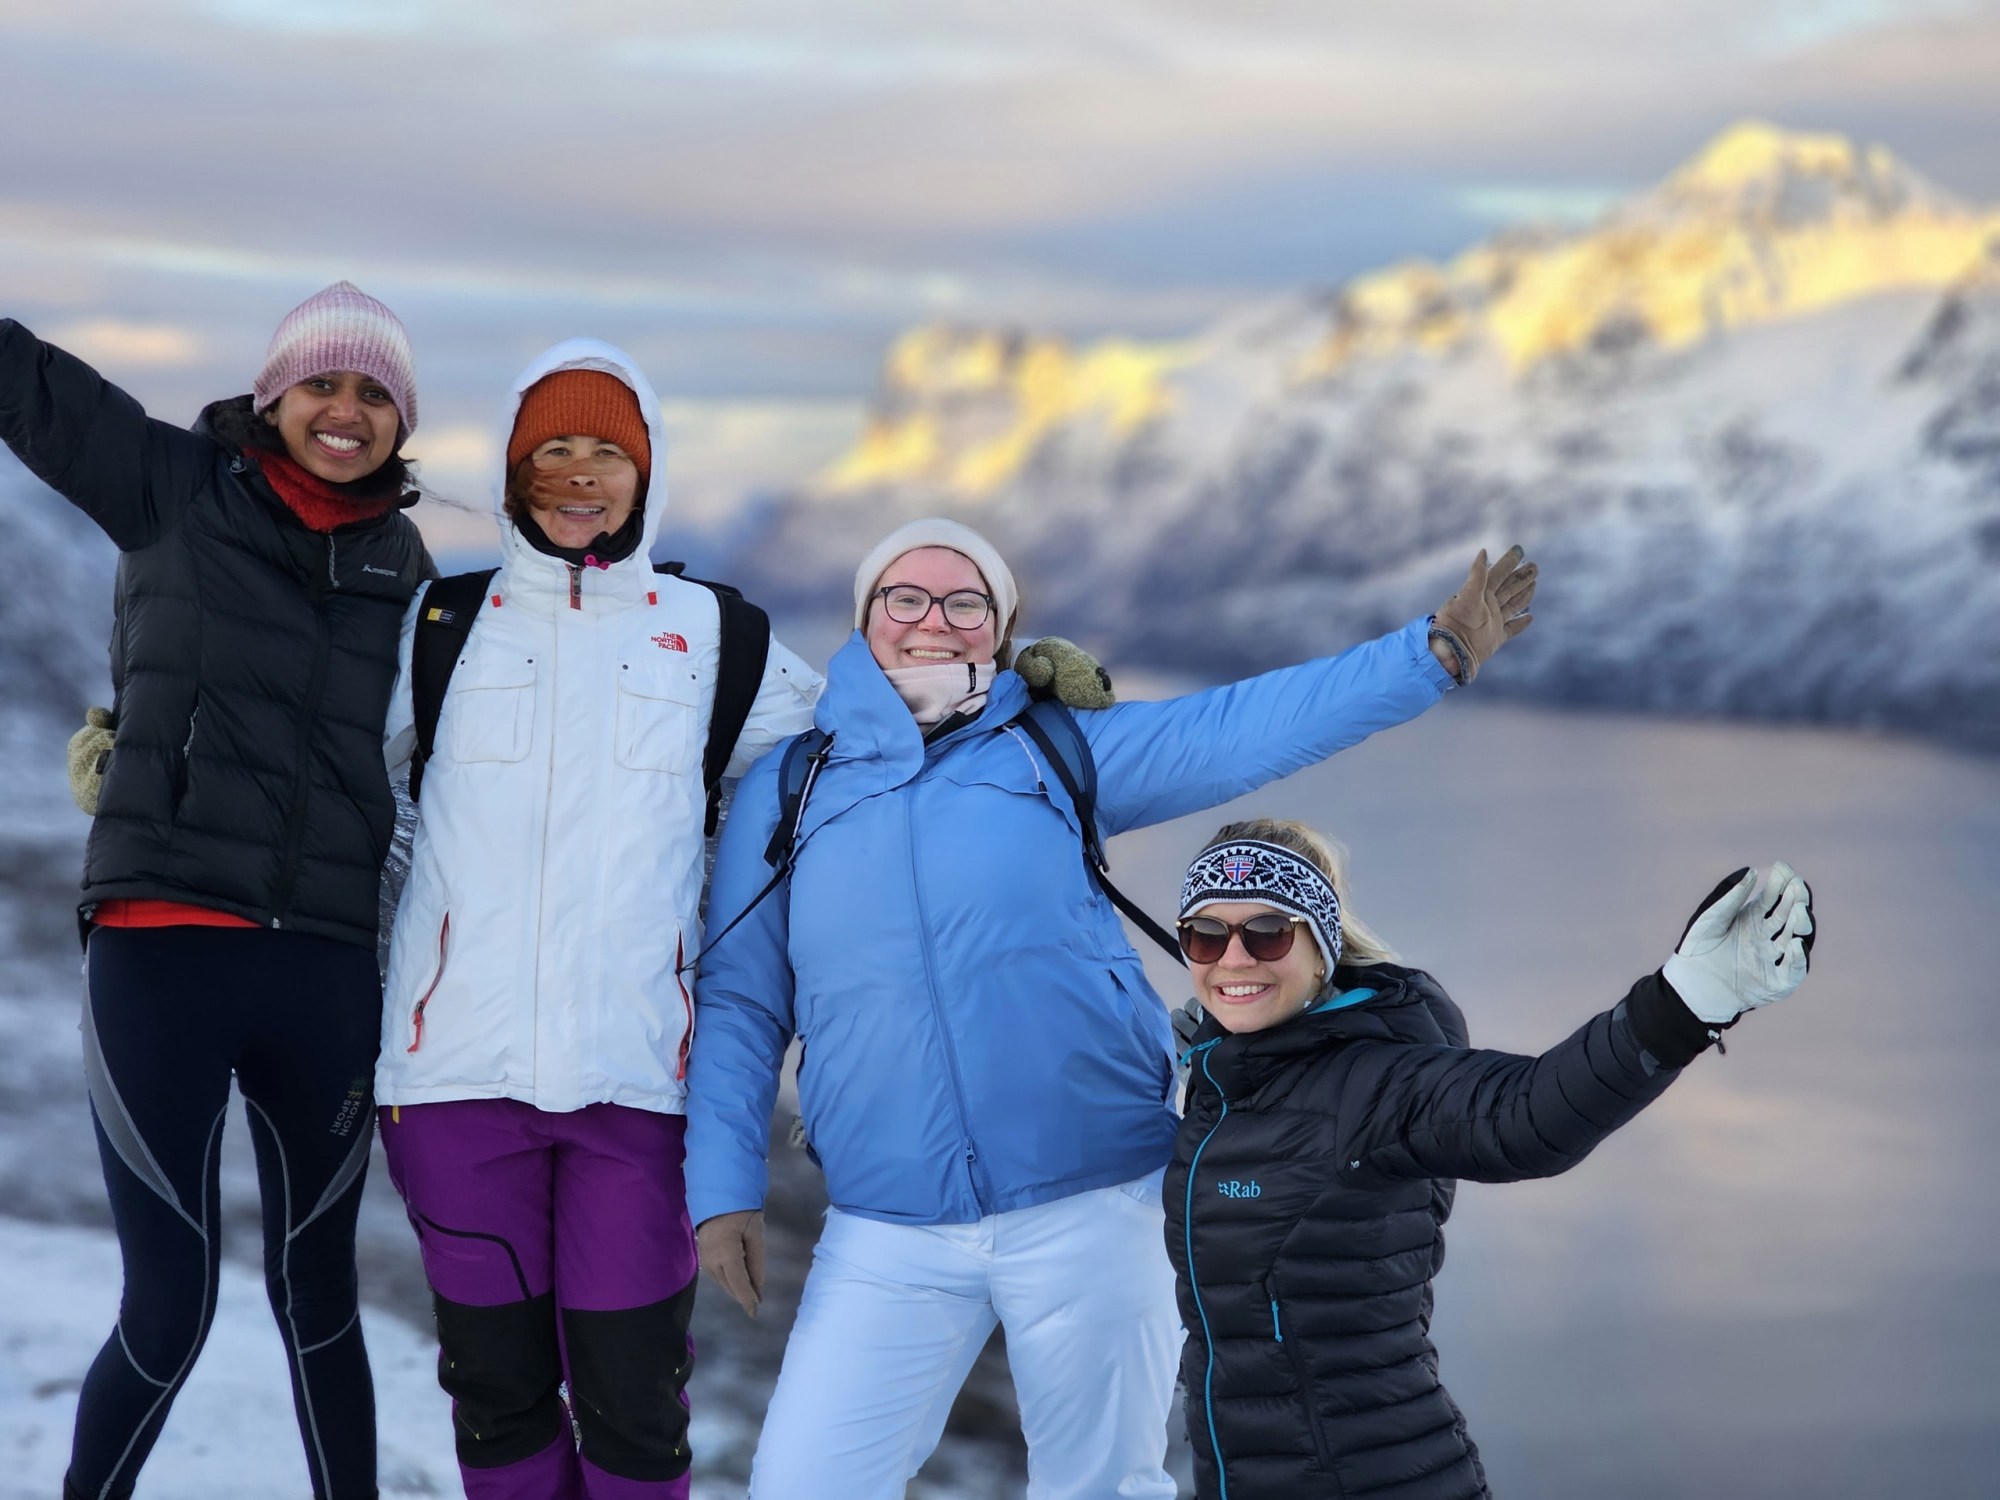
Snowshoe photography in Tromsø comes down to three things: warm batteries, gloves you can work a screen in, and a plan for the low winter light. The rest is the scenery, which does most of the work for you.
Our Arctic Snowshoe Hike is built around snowy mountains, forest and fjord views, and the tour page lists fantastic photo opportunities throughout the hike. This guide is about making the most of them with a phone or a camera: what to prepare before the 10:00 pick-up, how to cope with cold and bright snow on the trail, and which moments to look out for.
Quick facts: Arctic Snowshoe Hike
- Ages: Ages 10+ Recommended
- Duration: 4 Hours
- Seasonality: Winter
- Pickup location: Outside Clarion Hotel The Edge (look for a black Mercedes)
- Pick-up time: 10:00
- Group size: 2-8 guests (larger groups on request)
- Included: Transport in a Mercedes minivan; Local guide; Snowshoe & poles; Snacks and a hot drink
- Price: from NOK 1,500 (see live prices in the booking calendar)
Before you leave the hotel: a five-minute photo check
Most photo problems on a winter hike are solved at the hotel, not on the trail. Run through this short list the evening before.
- Charge everything fully. Phone, camera battery, power bank. Cold drains batteries faster than warm air does.
- Clear space. Delete old files or back up your phone so you do not run out of storage halfway up a snowy ridge.
- Wipe the lens. Moving from a warm hotel to cold air can fog glass. A soft cloth in your pocket is enough.
- Pack spares in an inside pocket. A spare camera battery or a small power bank stays warm against your body.
- Check your gloves. Thin liners underneath warm outer gloves let you take a picture without exposing bare fingers for long.
The tour page lists a camera or smartphone as an optional item and sunglasses for bright days. You do not need professional gear; a modern phone is enough for most of what the hike offers.
Where the photo moments come on the hike
The day follows a simple shape: about 30 minutes of driving, two to three hours on snowshoes at an easy tempo, then about 30 minutes back. Each part of it gives you something different to photograph.
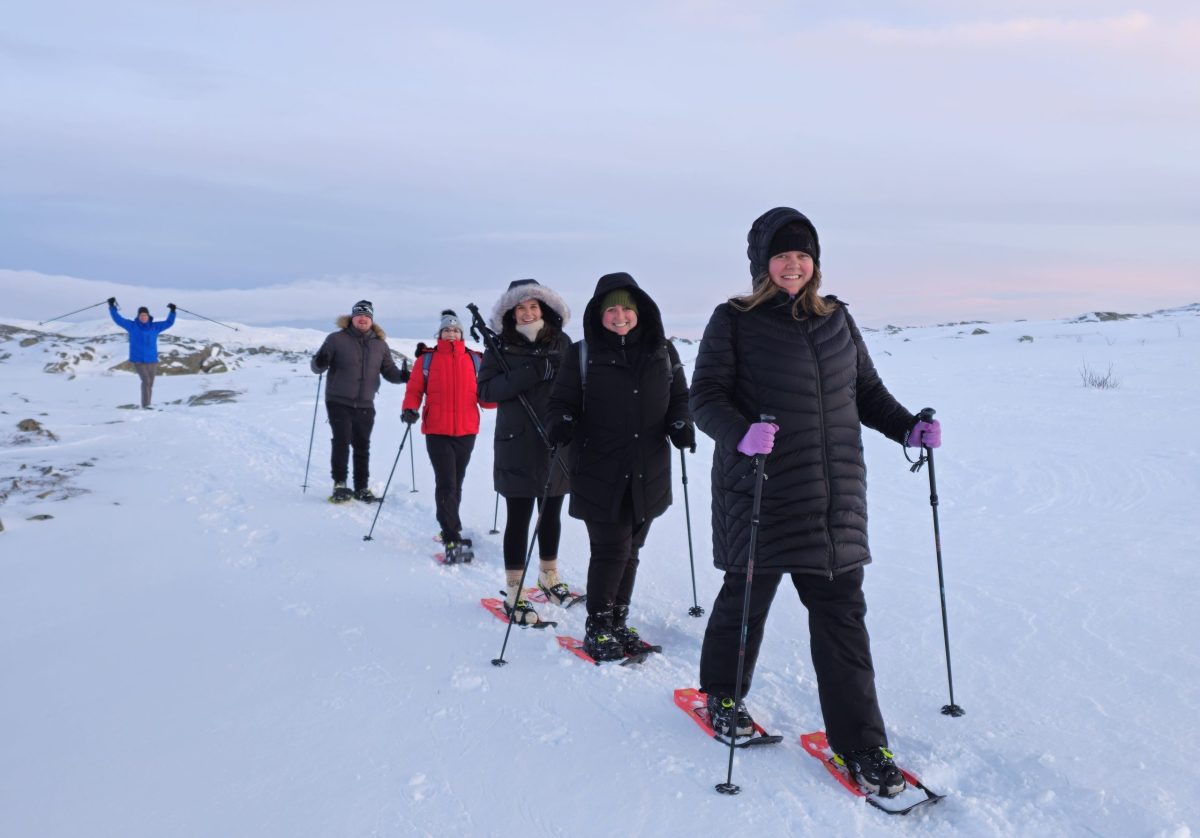
- The walk in a line. A small group on snowshoes crossing open snow makes a classic shot. Stay a few paces behind and let the group string out ahead of you, or ask someone to walk on while you photograph.
- The view point. The hike heads for snow-capped mountains, forests and fjord views. When the group stops to look, take a wide frame first, then step closer and shoot details such as snow on branches.
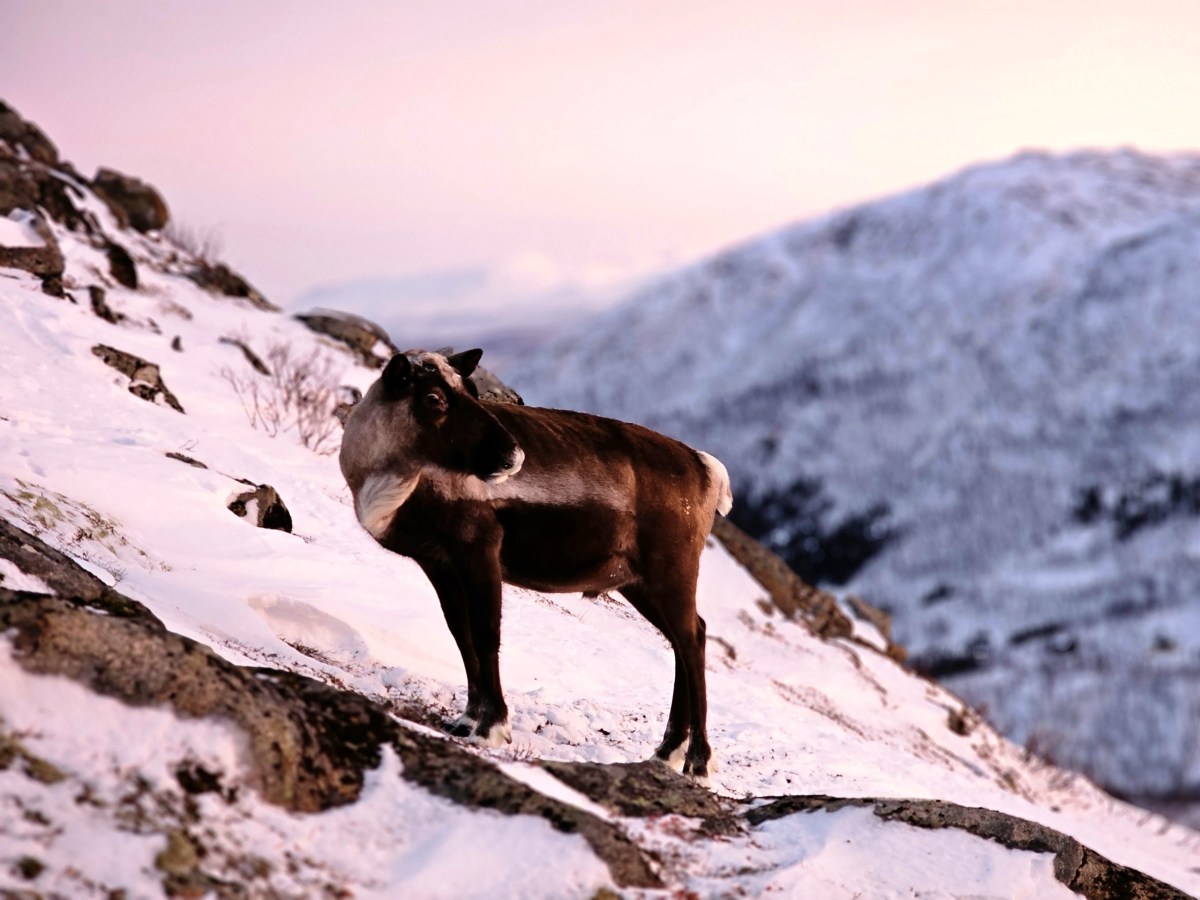
- Wildlife, if it appears. Reindeer and birds are commonly seen in the area, though never guaranteed. Keep your phone reachable rather than buried under layers.
- The playful ones. Snow angels and hands making a heart in the snow are timeless. They need a camera at snow level and a moment of patience.
- The group photo. Ask your guide to take one of everyone, or to shoot a couple of frames on your phone while you pose.
Low winter light: what to expect and how to use it
Tromsø lies inside the Arctic Circle, so winter days are short and in the darkest weeks the sun does not rise above the horizon at all. That is general knowledge about the polar night rather than something specific to one hike, and the exact amount of daylight changes week by week, so check sunrise and sunset times for your dates.
What it means for photography: late-morning departures such as our 10:00 hike put you outside during the lightest part of the day. In midwinter that light is soft and low, often with blue or pink tones over the snow and mountains.
A few simple settings help in low light:
- Hold the phone or camera with both hands and tuck your elbows in to reduce shake.
- Tap the screen on your subject to set focus and exposure, then take a few frames in case one is blurred.
- Use your phone’s night or low-light mode only when you can hold still. If someone is moving, a normal shot is usually sharper.
- Do not use flash on the snow. It rarely helps and can flatten the scene.
Bright snow: when sunglasses are also a photo tool
On clear days the snow reflects a lot of light, which is why sunglasses are on the tour page’s optional list. For photography, the same brightness can fool your camera into making snow look grey.
If your phone or camera lets you adjust exposure, nudge it slightly brighter so the snow looks white rather than dull. Check the screen after your first few shots and adjust. Shielding the screen with your hand or hood helps you see what you are really getting.
Cold batteries and fingers: keeping gear alive
Cold is the real enemy of winter photography. Batteries lose charge faster, screens react slowly and fingers go numb.
- Keep the phone close to your body between shots, in an inside pocket rather than an outer one.
- Swap batteries rather than warming them in your hand. A cold camera battery often recovers a little when it warms up again inside a pocket.
- Do not breathe on the lens. Your breath fogs it, and in the cold it can freeze.
- Use a wrist strap or lanyard. You will be wearing gloves and holding poles, so a strap prevents drops.
- Park your poles first. Planting them in the snow beside you frees both hands for a steady shot.
For hands, our Arctic clothing advice applies: warm hat and gloves are on the page’s recommended list, and the wider guide to dressing for the Arctic explains layering. A fuller kit list for the hike is in our post on what to wear on a snowshoe hike.
Help from your guide
Our FAQ says guides are happy to assist with camera settings and positioning, and that on many tours the guide takes photos when conditions allow and shares them afterwards at no extra cost. Whether that happens on your particular hike depends on the day, so ask at the start. Telling the guide what you want, whether it is a portrait or a wide landscape, usually gets better results than hoping.
Your guide also knows the terrain and the snow conditions of the day, so ask where the best viewpoint is and how much time the group has there. Good photos need a few minutes of stillness.
Should you photograph the northern lights on a snowshoe hike?
The daytime hike is not an aurora tour, and it finishes long before dark. If the northern lights are what you want to photograph, look at our evening Aurora Snowshoe Hike, which leaves at 18:30 with the chance of seeing the lights, or at the Northern Lights Tour. The aurora is never guaranteed, and night photography has its own rules about stillness and exposure, which we cover in our post on photographing the northern lights on a tour.
Frequently asked questions
Do I need a proper camera?
No. A camera or smartphone is listed as optional on the tour page, and a modern phone handles snowy landscapes well. If you do bring a camera, keep a spare battery warm in an inside pocket.
Will the guide take photos of me?
Our FAQ says that on many tours guides take photos when conditions allow and share them afterwards at no extra cost. Ask your guide at the start of the hike whether this applies to your departure.
Is there time to stop for photos?
The tour page lists fantastic photo opportunities throughout the hike. The pace is easy, and the group is small, so a quick photo stop is straightforward to ask for.
Can I use a tripod?
The tour page does not mention tripods. Ask us before booking if you plan to bring one, and keep in mind that you will be wearing snowshoes and holding poles on uneven ground.
Can I count on seeing reindeer for my photos?
Reindeer and birds are commonly seen in the area, but wildlife sightings are never guaranteed.
Book your snowshoe hike
If you came for the pictures, pick a date, charge your batteries and bring warm gloves. The hike leaves from Kaigata 6 at 10:00, with snowshoes, poles, snacks and a hot drink included in the price.