
Northern lights on your phone: practical photo tips
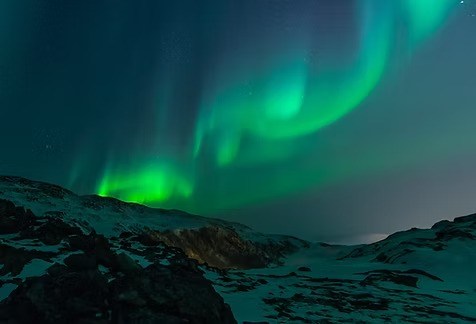
You can photograph the northern lights on a modern phone if you keep it steady, use night mode and let your guide help with positioning.
You do not need a professional camera to bring home a picture you are proud of. A phone is enough on many nights, as long as you prepare for the cold and know a few simple habits. This guide gives practical tips for taking aurora photos on a phone during our Northern Lights Tour. They are general tips, not a guarantee: the lights, the weather and your phone model all play a part, and every phone behaves a little differently. The good news is that your guide is there to help, and on many tours our guides take professional photos for you.
Quick facts: Northern Lights Tour
- Ages: Ages 7+ Recommended
- Duration: 5-8 Hours
- Seasonality: Winter
- Pickup location: Outside Clarion Hotel The Edge (look for a black Mercedes)
- Time: Pick up at 19:00 (18:30 from 25 October)
- Group size: 2-8 guests (larger groups on request)
- Included: Local expert guide; Transportion in a premium Mercedes-Benz vehicle; Winter suit; A warm meal, snacks and hot drinks
- Price: from NOK 2,300 (see live prices in the booking calendar)
What to expect from a phone at night
A phone camera does something your eyes cannot: it collects light for a moment longer than your eyes would. In night mode that often brings out more colour than you notice by eye, especially when the display is faint. A weak display can look pale and grey in person but green on a screen. That is normal, and it is one reason photographs of the aurora can look more dramatic than the memory.
The flip side is that a phone has a small sensor, so very dim displays can look noisy or soft, and anything that moves fast, such as a bright, dancing display, can blur. Set your expectations accordingly: you are aiming for a good memory shot, not a magazine cover. If you want to know more about what the guides do, see photographing the northern lights on a tour.
Before the tour: prepare the phone
- Charge fully, and carry a spare. Cold drains batteries quickly. Keep a power bank or spare battery in an inside pocket, close to your body.
- Free up storage. Night photos and videos are large. Clear space before you go.
- Check gloves. You need to touch the screen without freezing your fingers. Thin liner gloves under your mittens work well for many people.
- Clean the lens. A smudge turns every light into a blur.
- Turn the flash off. It lights up the nearest snow and does nothing for the sky.
- Practise at home in a dark room. Find night mode, the timer and the focus control before you are standing outside in the cold.
On the night: a simple routine
- Let your eyes adjust first. Look at the sky for a little while without your phone. You will see better, and you will know where to point.
- Keep the phone steady. A moment of shake spoils a night exposure. Rest the phone on something solid, lean against a vehicle, or hold it close to your body with both hands. A small phone tripod helps if you own one; check with your guide first.
- Use night mode, or a long-exposure setting. If your phone has a manual or pro mode, a longer exposure can capture more light, but start with the automatic night mode and see what you get.
- Use the timer. A short timer lets the shake from pressing the button die away before the photo is taken.
- Focus on something far away. Tap on a distant light or a bright star if your phone allows it, or use the infinity setting.
- Use the wide lens, not digital zoom. Zooming reduces quality at night.
- Take several shots. Displays change quickly. Keep trying while the lights are active.
Composition: make the picture about more than the sky
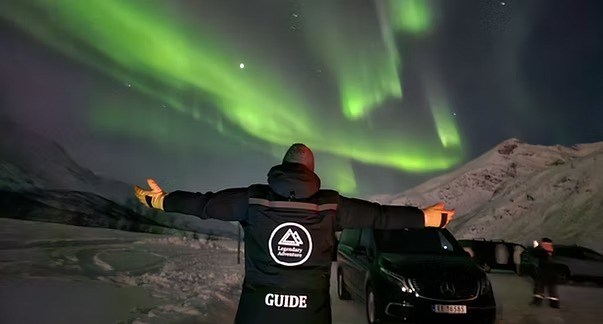
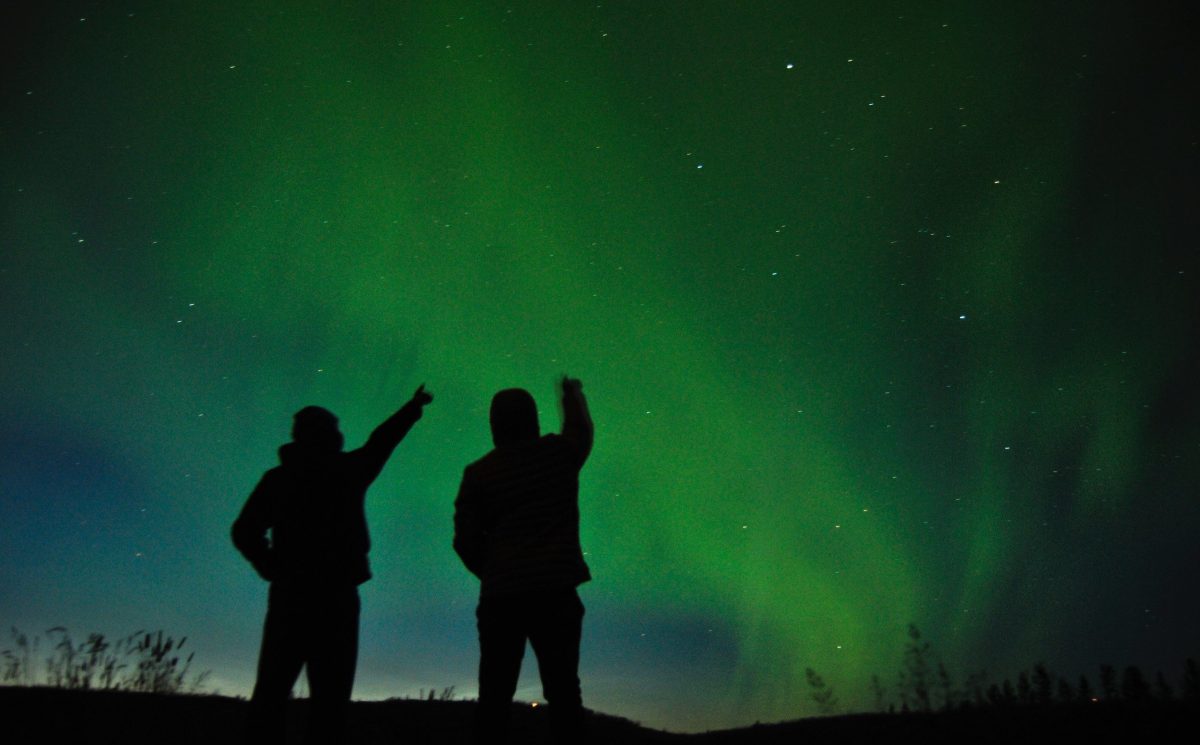
Aurora photos work best with something in the foreground. A mountain ridge, the shape of a black Mercedes van, a line of trees, or the silhouettes of fellow guests gives the sky scale. Our own photos show exactly this: a group of silhouettes standing under green lights, a guide with arms spread beside the van, a person with a head torch on a shore. Place the horizon in the lower third of the frame so the sky has room, and ask people to stay still if you want them in the shot.
Be considerate in the dark
- Dim your screen. A bright display ruins other people’s night vision.
- Skip the torch and the flash while the lights are active, unless your guide says otherwise.
- Do not walk through other people’s shots. Wait a moment, or ask.
- Keep the phone away from the cold between shots. Put it inside your jacket, then take it out when you need it.
Let your guide help
You are not on your own. Our FAQ confirms that guides are happy to help with camera settings and positioning, and that on many tours they take professional photos when conditions allow and share them with you at no extra cost. That is a good reason to relax: if the display is strong and the group is excited, you can take a few phone photos and then put the phone away. The best moments of an aurora night are often the ones you watch with your own eyes.
Ask early. If you tell the guide you are using a phone, they can point out the best spot to stand, the direction to aim and how long to wait between shots. The tour lasts five to eight hours, so there is time for a few tries. If you are weighing a private evening with more time for photos, the private northern lights tour is built around your group.
After the night: sorting and sharing
Back at your hotel, copy your best shots somewhere safe before you delete anything, because a photo that looks dull in the dark can come alive when you view it on a bigger screen. Keep editing light: a small lift in brightness or contrast is usually enough, and heavy filters can make the colours look artificial. If your guide took professional photos, they are shared with you after the tour, so you may end up with a better picture than any you took yourself. Compare them with yours, and keep both.
What if the lights are faint?
Some nights the display is gentle. You may see only a pale band that your eyes read as cloud. Try a longer night mode shot and see what the phone reveals. If nothing shows, do not worry: the tour still includes guiding, Arctic scenery after dark and local storytelling. There are no refunds or free tours if the lights do not appear, so book more than one night to improve your chances. See how many nights you need.
Frequently asked questions
Can I really photograph the northern lights on a phone?
Often yes, especially on a night with a clear sky and active lights. Keep the phone steady, use night mode and ask your guide for help.
Do I need a tripod?
It helps, but the tour page does not list one, so ask your guide on the night. You can rest your phone on a solid surface or hold it very steady.
Will my phone battery survive?
Cold drains batteries quickly. Charge fully, bring a spare and keep it inside your clothing.
Will the guide take photos of me?
On many tours our guides take professional photos when conditions allow and share them with you at no extra cost.
Do I need to dress differently for photography?
Dress as for any aurora night: wool layers, a hat, scarf, mittens and insulated winter boots, with the included winter suit on top. Our Arctic clothing guide has the details.
Book a night worth photographing
Pick your evenings in the live calendar, charge your phone and book directly for secure payment and small groups. Cancel extra nights more than 48 hours before departure for a full refund.